
Fix Snack Pellet Cracking in Drying: Twin-Screw Extruder Manufacturer
- By Jinan MT Machinery
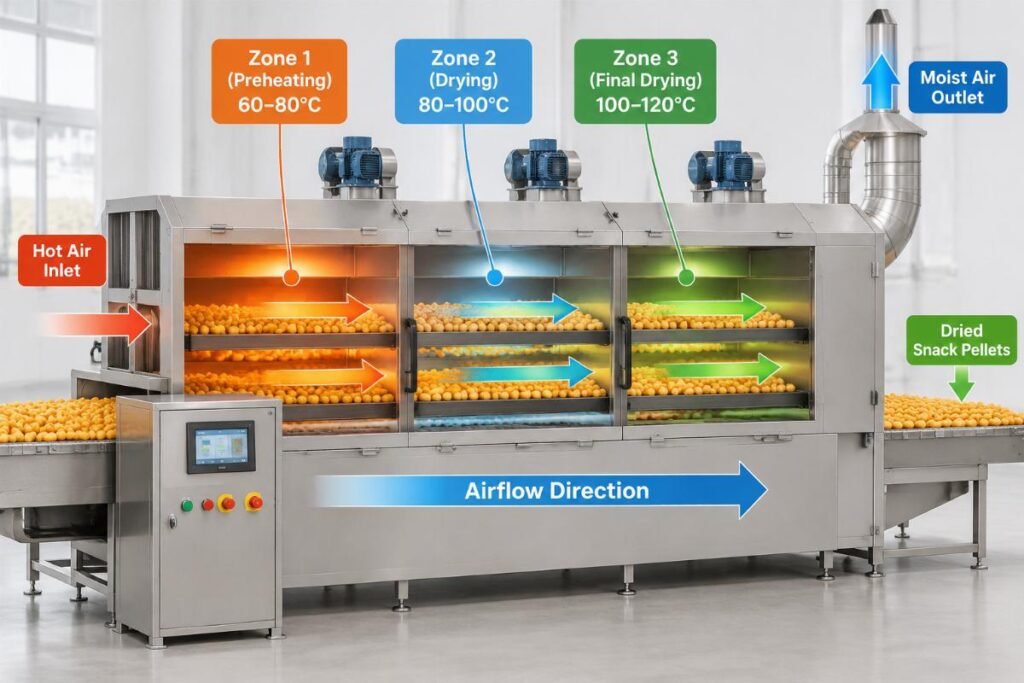
Most operators blame the extruder when snack pellets crack during drying, but the real culprit is almost always thermal shock.
Snack pellets cracking during drying is rarely an extrusion issue; it is a thermal bottleneck caused by rapid surface moisture evaporation. Adjusting the drying temperature ramp and airflow resolves the structural failure by balancing the moisture gradient between the core and the surface.
Years ago, I flew to a snack plant in Thailand to debug a puffed corn line. The client was furious because their entire batch was turning into dust inside the dryer. Standing by the vibrating fluid bed, I realized the issue was not the extrusion pressure. The drying temperature was ramping up too fast, causing surface moisture to evaporate instantly while the core remained wet. We adjusted the multi-zone heating curve and slowed the belt speed. The cracking stopped immediately. Ever since then, whenever I walk into a facility, I always check the dryer’s airflow and temperature profile first, looking past the obvious mechanical faults to find the real thermal bottleneck. Academic research confirms that surface-to-core moisture gradients are the primary driver of structural failure in extruded matrices.
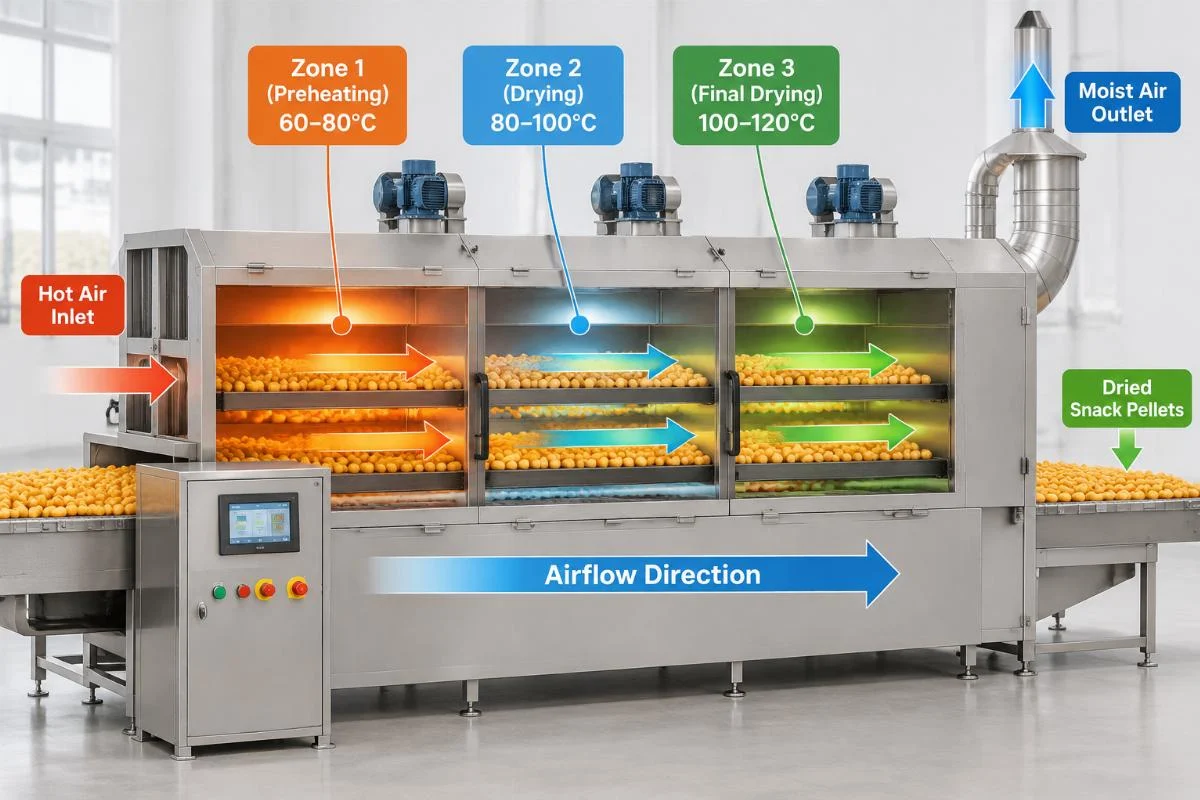
Let us walk through the exact steps to diagnose and fix this thermal bottleneck on your production line.
Why Do Snack Pellets Crack Inside the Dryer?
Cracking stems from thermal shock, not extruder faults. When operators see fractured pellets, the immediate instinct is to tweak the screw speed or die pressure on the twin-screw extruder. However, the extrusion process merely shapes the product; the dryer dictates its final structural integrity.
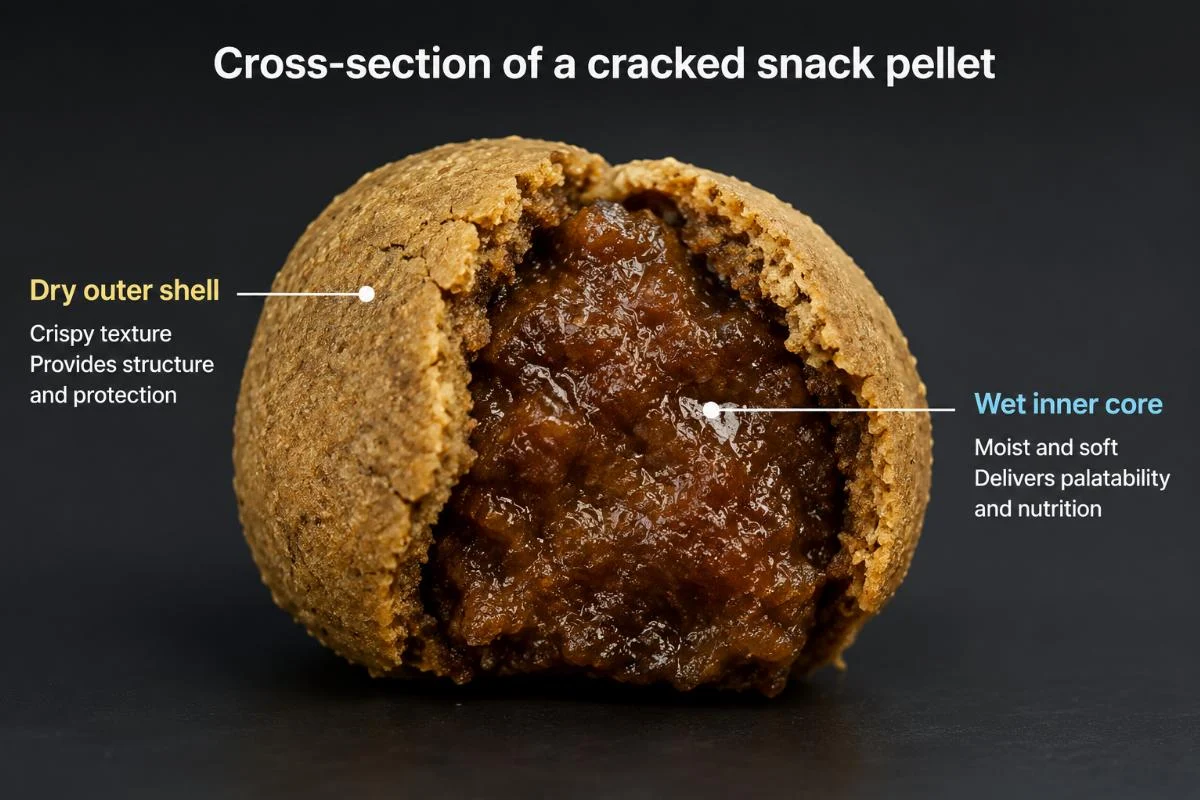
When high-temperature air hits a freshly extruded pellet, the surface moisture flashes into steam. If the heat input is too aggressive, the outer layer dries and shrinks rapidly while the inner core remains plastic and wet. This differential shrinkage creates immense internal stress. Once the stress exceeds the tensile strength of the dried crust, the pellet shatters. This phenomenon is well-documented in food engineering literature regarding the glass transition temperature of starch-based matrices.
I once consulted for a startup in Latin America producing corn puffs. They kept increasing the barrel temperature to fix micro-cracks, which only made the problem worse. The real issue was that their single-pass dryer was set to a static high temperature from the very first zone. By simply lowering the initial zone temperature, we eliminated the thermal shock.
How to Identify the Real Thermal Bottleneck?
Check dryer airflow and temperature profiles first. Before touching any extruder settings, you must map the thermal environment inside your dryer. A thermal bottleneck occurs when the heat transfer rate exceeds the moisture migration rate from the core to the surface.
Here is the step-by-step diagnostic method:
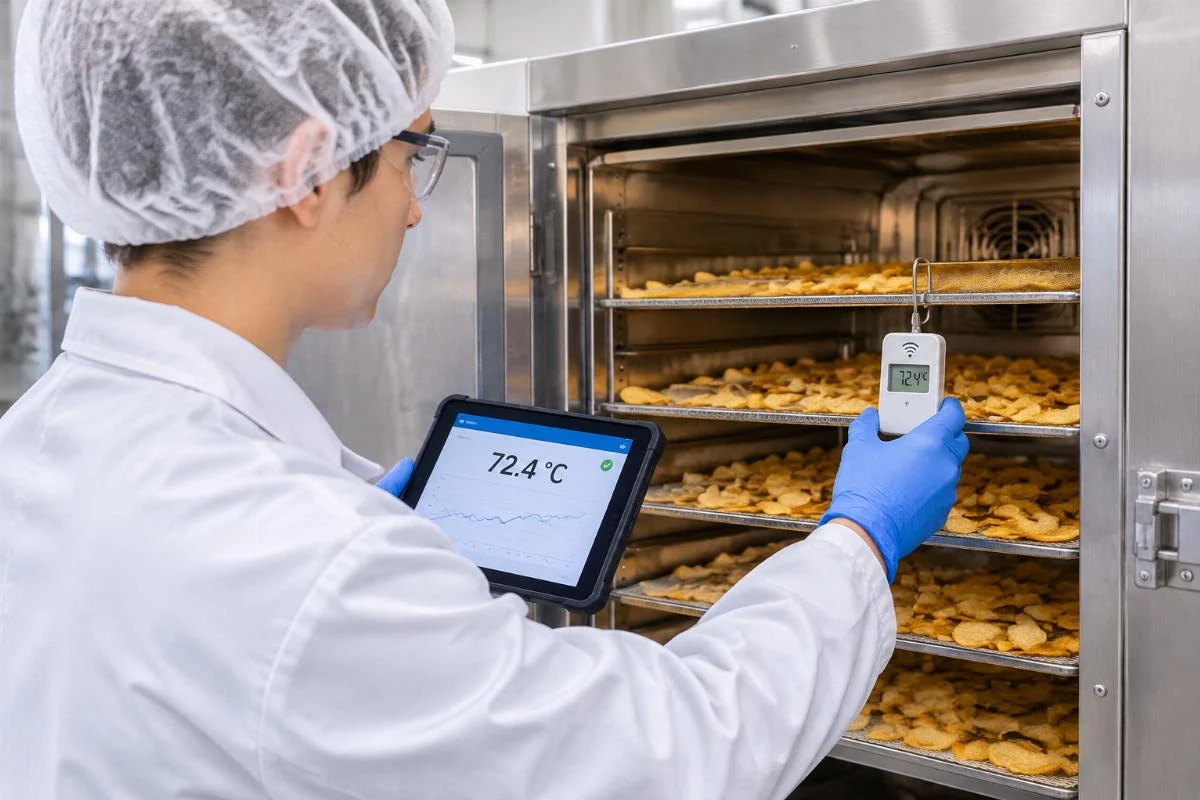
- Map the Temperature Profile: Use a wireless data logger to track the actual temperature the pellets experience as they travel through each zone. Compare this against the control panel readouts to identify cold spots or overshoots.
- Measure Airflow Velocity: Use an anemometer at the exhaust and supply vents. Uneven airflow causes localized over-drying, leading to random cracking across the belt width.
- Analyze the Moisture Gradient: Take samples at the dryer discharge and cut them open. If the exterior is brittle but the center feels soft or cool, you have a severe surface-to-core moisture gradient.
- Calculate Retention Time: Verify the belt speed against the effective drying length. If the pellets move too fast, operators often compensate by spiking the temperature, which triggers cracking.
A contract manufacturer in the Middle East faced severe waste due to random cracking. Their data logger revealed that the exhaust fans were pulling too much ambient air into the first zone, causing a rapid temperature drop followed by a massive spike in the second zone. This fluctuation was destroying the pellet structure. Stabilizing the exhaust dampers resolved the issue without changing the extruder recipe.
What is the Correct Drying Temperature Curve?
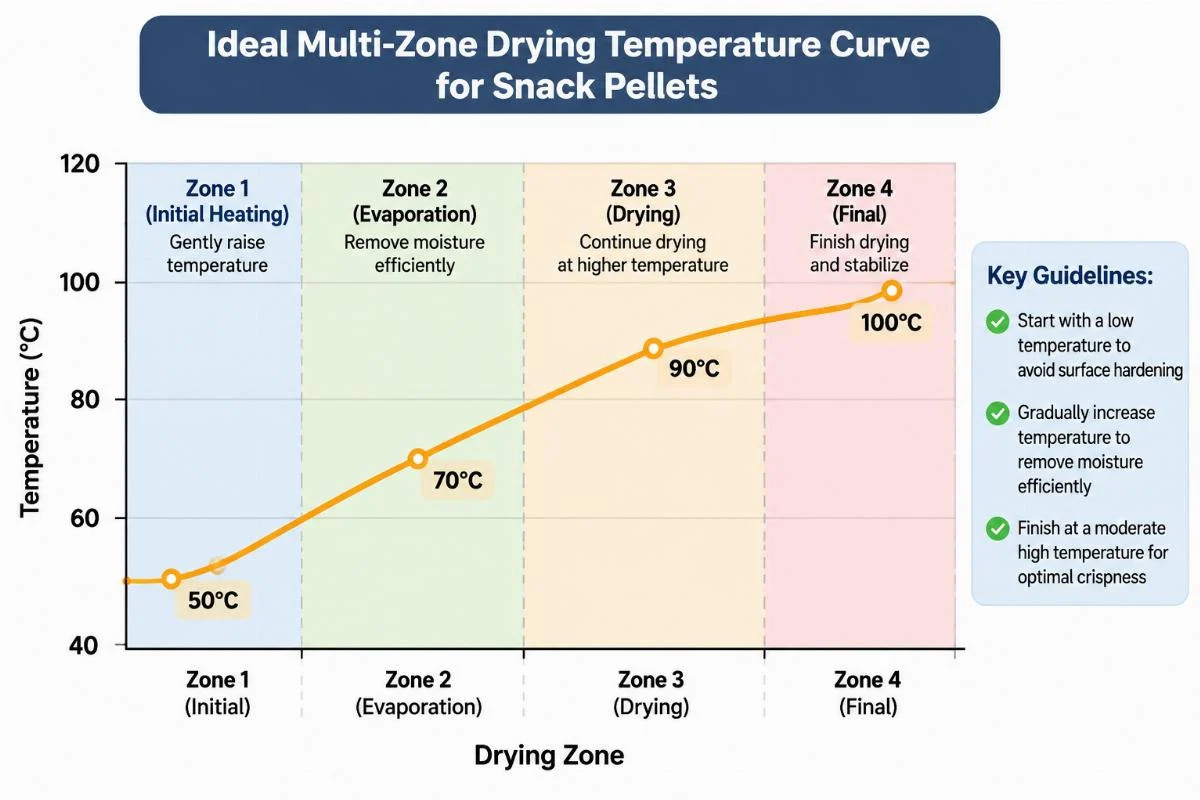
Implement multi-zone gradual heating to balance moisture. The correct drying temperature curve is not a flat line; it is a carefully orchestrated ramp. The goal is to keep the surface slightly plastic while allowing the core moisture to migrate outward steadily.
Follow this step-by-step curve profiling method:
- Zone One (Pre-heating / Tempering): Set this zone to a moderate temperature. The objective is to warm the pellet uniformly without flashing surface moisture. This allows the internal moisture to begin migrating toward the surface.
- Zone Two (Constant Rate Drying): Gradually increase the temperature. Here, free moisture on the surface evaporates. The temperature must be high enough to drive evaporation but low enough to prevent crust formation.
- Zone Three (Falling Rate Drying): Maintain or slightly reduce the temperature. The remaining bound moisture requires more energy to evaporate. High heat here will bake the surface and trap moisture inside, guaranteeing cracking upon cooling.
- Zone Four (Cooling / Equilibration): Introduce ambient or slightly cooled air. This prevents thermal shock when the pellets exit the dryer and prepares them for the flavor coating system.
When designing turnkey production lines, we integrate multi-zone heating controls that allow operators to save specific curve profiles for different recipes. This ensures that switching from a delicate corn puff to a denser whole-grain pellet does not result in batch waste. Proper curve profiling is essential for maintaining the structural integrity of complex shapes.
How to Adjust Airflow and Belt Speed?
Sync retention time with heat distribution for uniform drying. Even with a perfect temperature curve, poor airflow or incorrect belt speed will ruin the batch. Airflow removes the evaporated moisture from the chamber; belt speed determines how long the pellets are exposed to each thermal stage.
Execute this step-by-step adjustment protocol:
- Balance Supply and Exhaust Air: Ensure the exhaust fan capacity slightly exceeds the supply fan. This creates a negative pressure that pulls humid air out of the dryer, preventing a saturated environment that stalls evaporation.
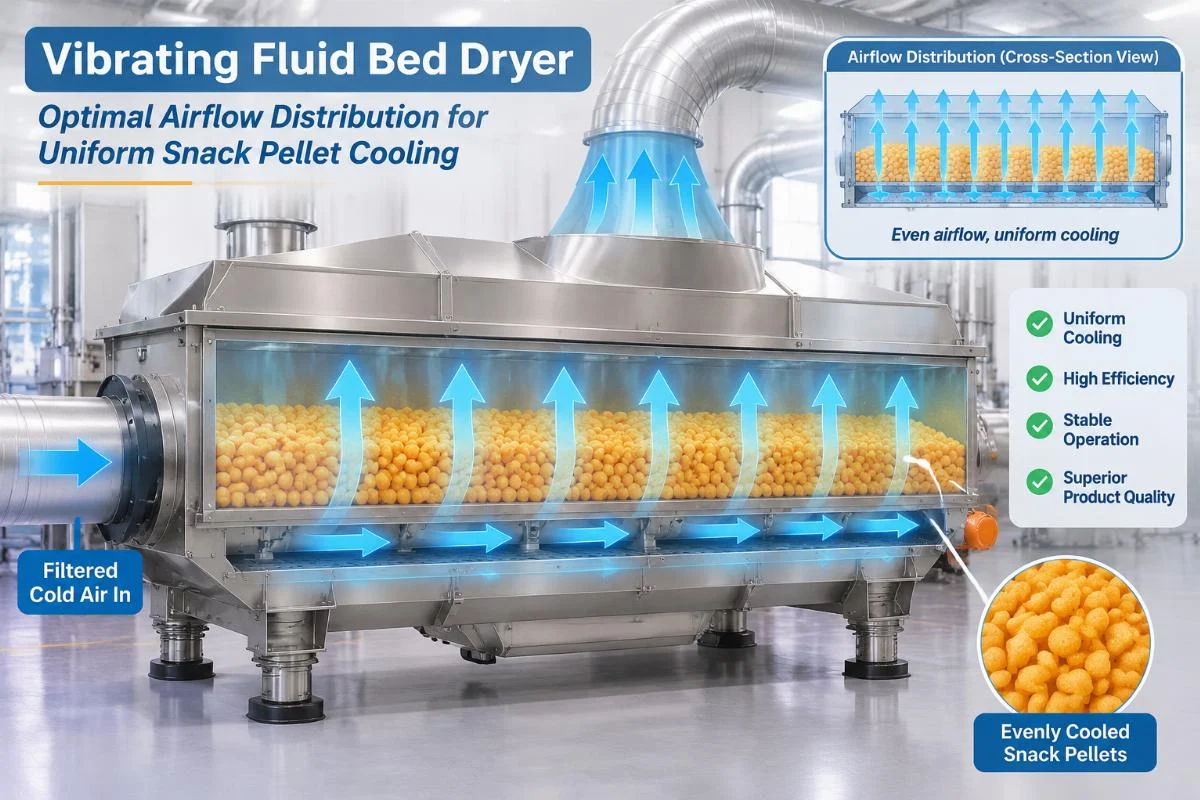
- Optimize Vibrating Fluid Bed Airflow: If your line uses a vibrating fluid bed for cooling or secondary drying, adjust the airflow velocity to lift the pellets gently. Too much velocity causes attrition; too little creates dead zones where moisture accumulates.
- Match Belt Speed to Thermal Load: Calculate the required retention time based on the initial moisture content and the target final moisture. If the belt is too fast, the core remains wet. Do not just increase the temperature to compensate; lengthen the drying path or slow the belt.
- Monitor Discharge Moisture Consistency: Sample the belt across its entire width. If the edges are drier than the center, your airflow distribution is uneven. Adjust the duct dampers to balance the cross-sectional airflow.
A startup in Africa was scaling up their puffed snack capacity. They doubled the belt speed to increase output but kept the dryer settings identical. The result was massive cracking because the retention time was halved. By extending the dryer length and synchronizing the belt speed with a revised thermal profile, they achieved uniform moisture removal. This is why integrated drying and cooling systems are critical; they allow for precise synchronization of mechanical and thermal variables.
Conclusion
Snack pellets cracking during drying is a thermal management issue, not an extrusion defect. By mapping the temperature profile, implementing a gradual multi-zone heating curve, and synchronizing airflow with belt speed, you can eliminate structural failures and save your production batches. Proper thermal profiling ensures that moisture migrates evenly from the core to the surface, preserving the integrity of every pellet.
Equipment Mentioned in This Article
 3D papad machine
3D Snack Pellet Production Line Fried Extruder Machine
3D Snack Pellet Production Line for Starch-Based Snacks — twin-screw extrusion processes potato, cassava, and corn starch into diverse shapes.… View Machine Details 3D papad machine
Fully Automatic 3D Snack Pellets Extruder Making Machine for Chips
Chips 3D Snack Pellet Extruder Line for 2D/3D Shapes — co-rotating twin-screw extrusion processes potato and cassava starches into papad,… View Machine Details 3D papad machine
Automatic 3D Pellet Extruded Corn Puffed Snack Food Production Line
3D Pellet Extruded Snack Food Production Line for Starch Pellets — processes potato, corn, and cassava starch into papad and… View Machine Details 3D papad machine
2D 3D Snack Pellet Production Line Manufacturer
2D 3D Snack Pellet Production Line for Diverse Shapes from Starches — twin-screw extrusion handles wheat, corn, and cassava. The… View Machine DetailsRelated Applications

Engineering Perspective
An In-House R&D Team Behind Every Line
Jinan MT Machinery develops its process technology in-house. The team concentrates on the four areas that decide pellet shape, expansion and line stability.
- Expansion technology
- Twin-screw extrusion
- Die design
- PLC/MCC automation
Related Articles
 Nov 17, 2026 · Installation & Maintenance
Fried Pellet Chips Extruder Manufacturer: Fix Uneven Expansion
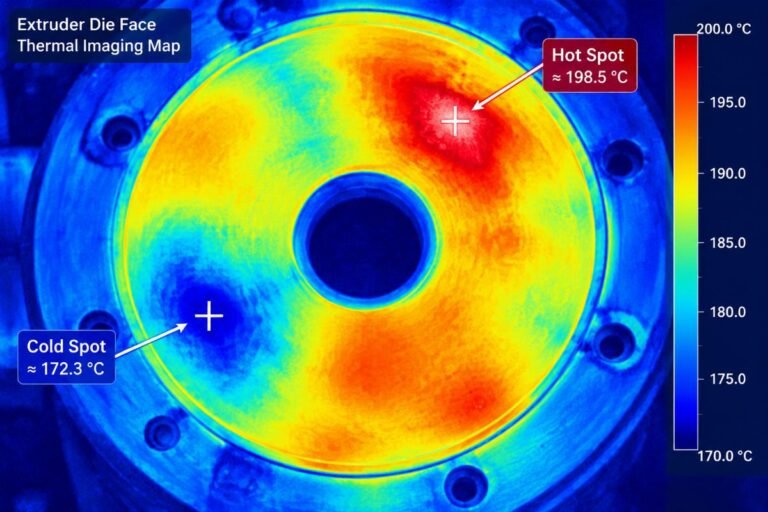
Troubleshooting uneven expansion fried pellet chips requires addressing mechanical installation deviations and thermal inconsistencies instead of adjusting recipes. Verify die temperature sensor alignment, inspect… Read This Article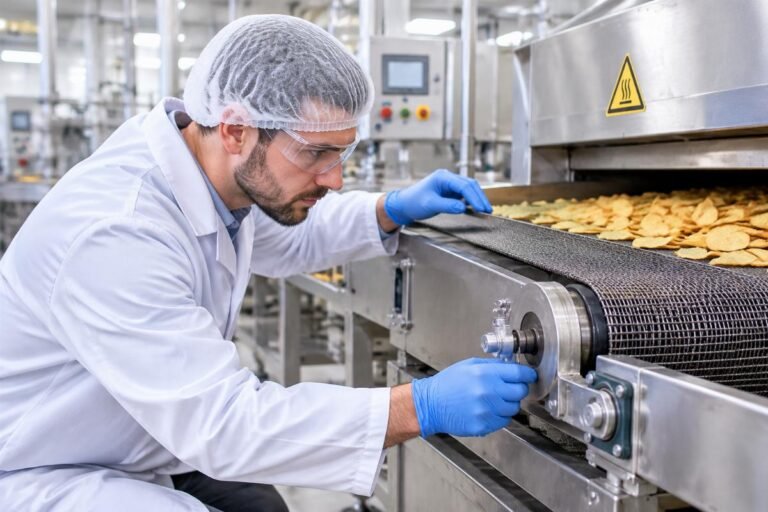 Nov 17, 2026 · Installation & Maintenance
Snack Pellet Dryer Maintenance: Belts, Fans & Heating Elements Manufacturer
Effective snack pellet dryer maintenance prevents hidden moisture pockets and localized scorching by addressing belt tension, fan airflow, and heating element decay. Master precise… Read This Article Nov 17, 2026 · Installation & Maintenance
Extruder Screw & Barrel Wear in Pellet Lines: Replacement Guide from Manufacturer
Detect extruder screw and barrel wear early by tracking motor amperage spikes before internal clearance expansion ruins pellet quality and triggers costly downtime. Replace… Read This ArticleFree Process Check
Send Your Recipe for a Process Check
Jinan MT Machinery engineers review your recipe and return a free process plan within 24 hours. Tell us the product, output, raw material, local voltage and heat source.
Send Your Recipe on WhatsApp