
Pellet Chips Line Commissioning Checklist: Meiteng Extruder Manufacturer
- By Jinan MT Machinery
Factory manuals will lie to you if you ignore the local climate.
A successful first production trial for a pellet chips line relies entirely on synchronizing material moisture, cutter speed, and dryer settings in real-time, rather than blindly following the factory parameters shipped with the equipment.
I still remember the suffocating heat of a Riyadh production facility during my very first overseas assignment. We had just finished assembling a twin-screw extruder for a local snack startup. When we hit the start button for the initial run, the cutter speed completely failed to match the material output rate. Fine dust and broken fragments covered the floor, and the plant owner was practically vibrating with anger, ready to withhold the final payment. That night, I squatted beside the dryer, obsessively watching the moisture readings and tweaking the cutter frequency millimeter by millimeter until we finally dragged the yield back to a highly profitable level. After spending years assembling machinery in Jinan and troubleshooting it across the Middle East and Latin America, I know exactly how different a sterile blueprint looks compared to a humid, real-world factory floor. This pellet chips line commissioning guide is built entirely on the hard lessons learned from scrapped batches and sleepless nights.
Let us walk through the exact field-tested steps to ensure your equipment runs smoothly from day one.
How to Prepare the Raw Material Mix Before Extrusion?
Proper moisture control and thorough blending are the absolute prerequisites to prevent barrel blockages and ensure uniform expansion.
Before any heat is applied, the raw material matrix must be perfectly conditioned. Extrusion is essentially a high-temperature, high-pressure cooking process, and the moisture content acts as the plasticizer and expansion agent. If the mix is too dry, the material will act like sand, causing immense friction, spiking the motor load, and potentially shearing the screws. If it is too wet, the pellets will emerge as dense, unexpanded gummy lumps that will inevitably clog the dryer.
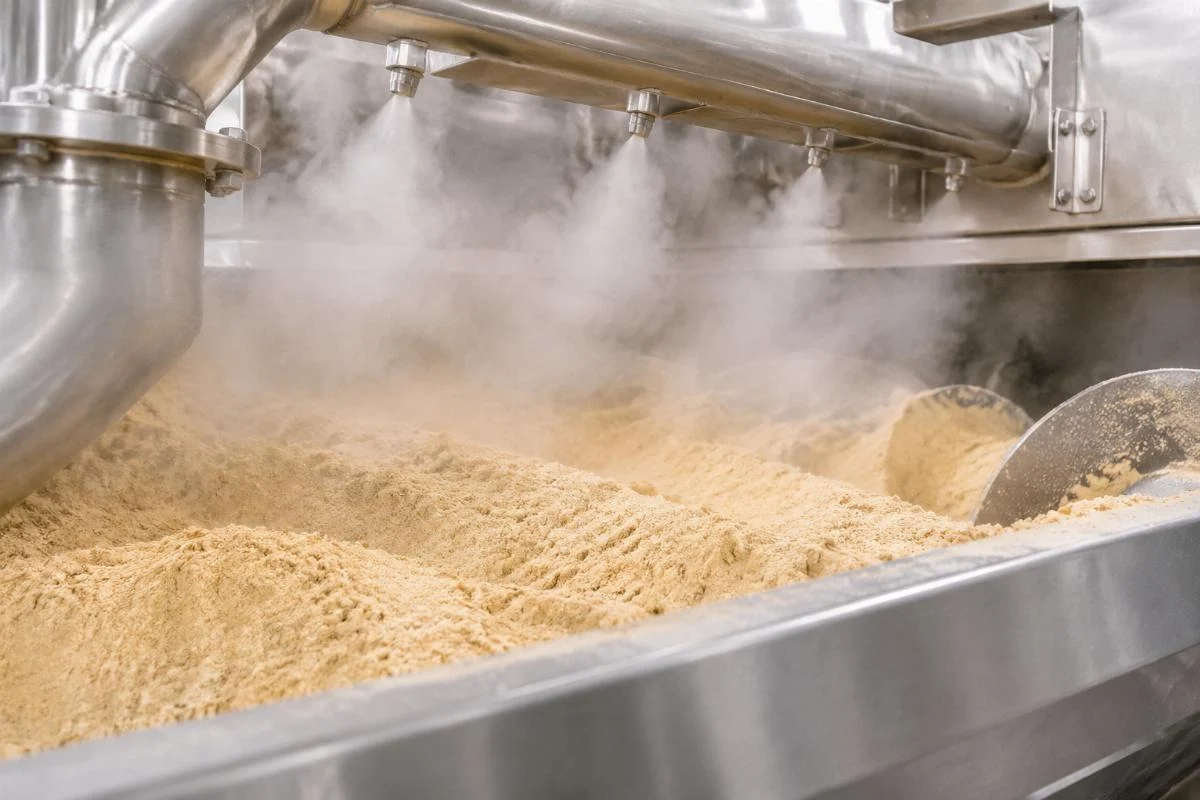
- Moisture Conditioning: Pre-condition the raw flour blend to a specific, uniform moisture level using a dedicated pre-conditioner. Steam injection must be controlled to achieve a consistent texture without creating localized wet spots.
- Particle Size Uniformity: Ensure all raw ingredients are milled to a consistent particle size. Oversized particles will not hydrate evenly, leading to uneven cooking and weak pellet structures.
- Static Elimination: In dry environments, static electricity can cause fine powders to cling to the mixer walls, altering the actual feed ratio. Ground all mixing and feeding equipment properly.
During a trial in a coastal South American facility, we noticed the extruder motor drawing massive current spikes. The culprit was not the machine, but the local humidity causing the corn flour to absorb ambient moisture unevenly before it even reached the feeder. We had to adjust the pre-conditioner steam valve to compensate for the pre-absorbed water.
What Are the Critical Extruder Parameters for the First Run?
Barrel temperature zones and screw speed dictate the physical expansion and structural integrity of the pellet.
Once the material is fed into the hopper, the thermal and mechanical energy inside the barrel determines the final product quality. The specific energy input must be carefully monitored to ensure the starch is fully gelatinized without being degraded.
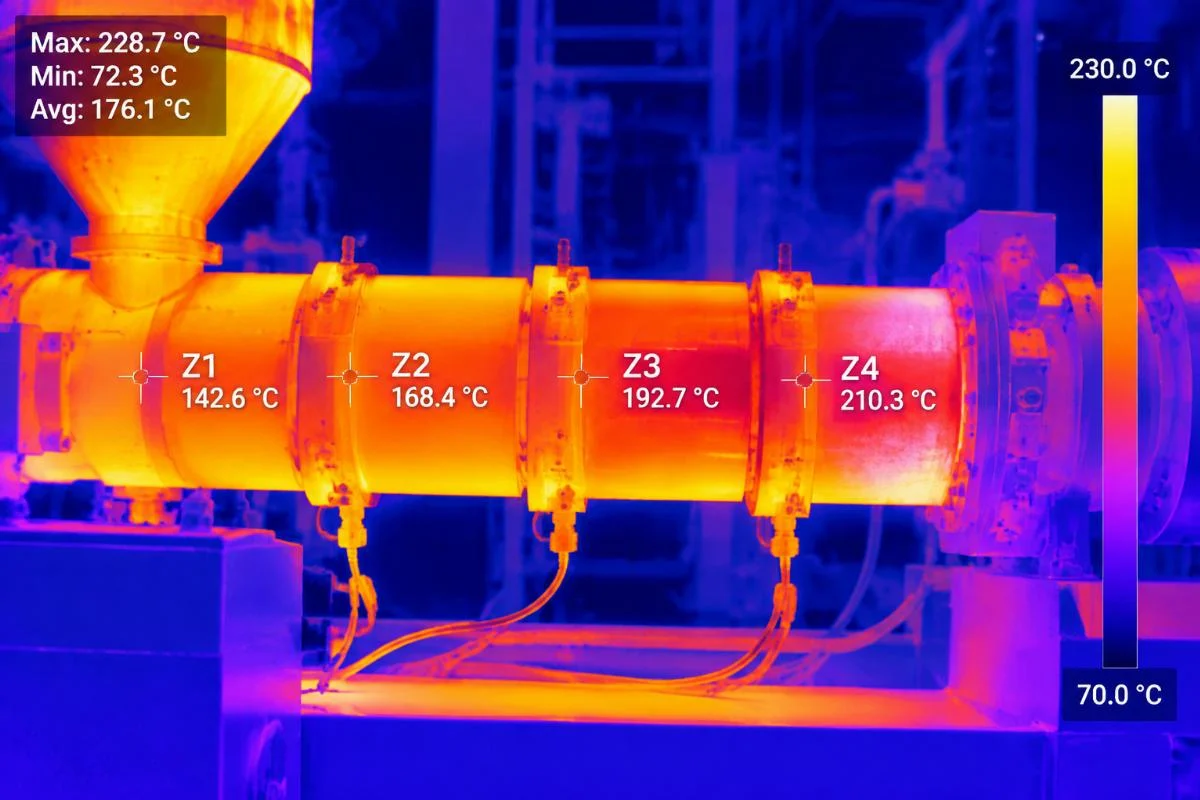
- Temperature Zoning: Do not just set the temperatures and walk away. The feeding zone should remain relatively cool to prevent material bridging. The compression and metering zones require precise, escalating heat to melt and shear the matrix. The die face temperature must be high enough to ensure immediate flash evaporation upon exit, but not so high that it burns the surface.
- Screw Speed and Feed Rate: The ratio of screw speed to feed rate determines the fill degree inside the barrel. A higher screw speed with a fixed feed rate increases shear heat and reduces residence time. You must balance these two to achieve the target bulk density.
- Die Pressure Monitoring: Keep a close eye on the pressure gauge before the die. A sudden drop in pressure indicates material starvation or excessive wear, while a continuous rise suggests a blockage or excessive viscosity.
Many operators assume that simply cranking up the barrel temperatures will speed up production. In reality, excessive heat without corresponding screw speed adjustments will simply burn the outer layer of the pellet while leaving the core undercooked, resulting in a product that collapses during drying.
How to Synchronize Cutter Speed with Material Output?
Matching the cutter RPM to the extrusion rate is the most critical factor to minimize fines and maximize overall yield.
This is where most first-time operators fail. The common misconception is that a higher cutter speed automatically translates to higher output. The truth is exactly the opposite: a mismatched cutter speed is the primary cause of excessive fines and irregular pellet lengths, which ruins the final packaging appeal and increases waste.
- Visual Synchronization: During the initial extrusion, observe the pellet strands exiting the die. The cutter blades must contact the strands at the exact moment they reach the optimal length. If the cutter is too slow, the pellets will drag and break irregularly. If it is too fast, you will generate a massive amount of half-cut fragments and dust.
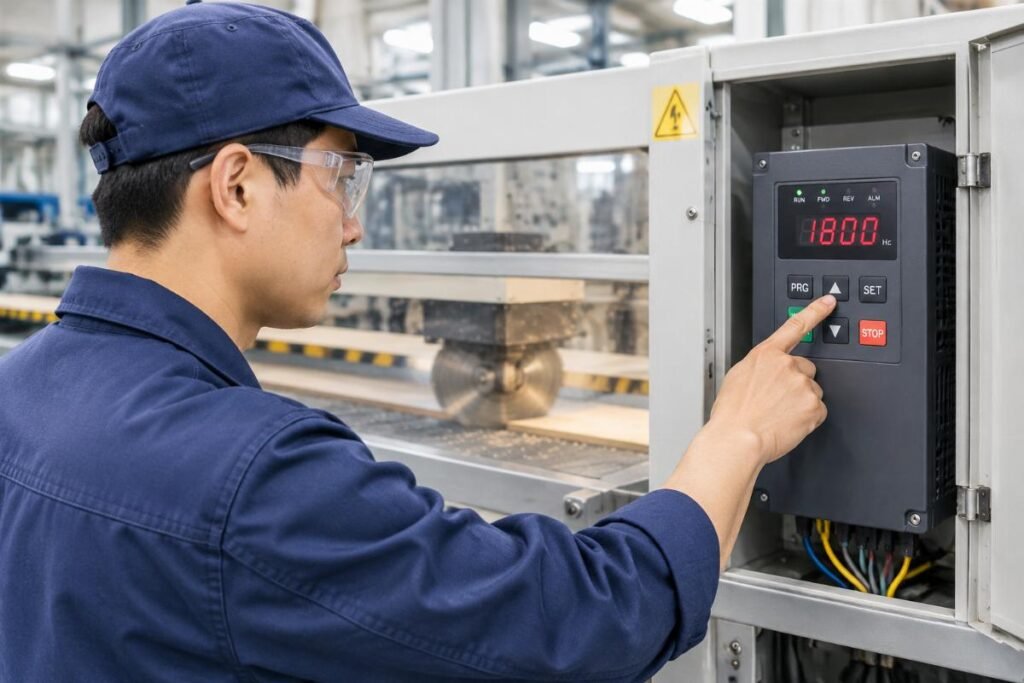
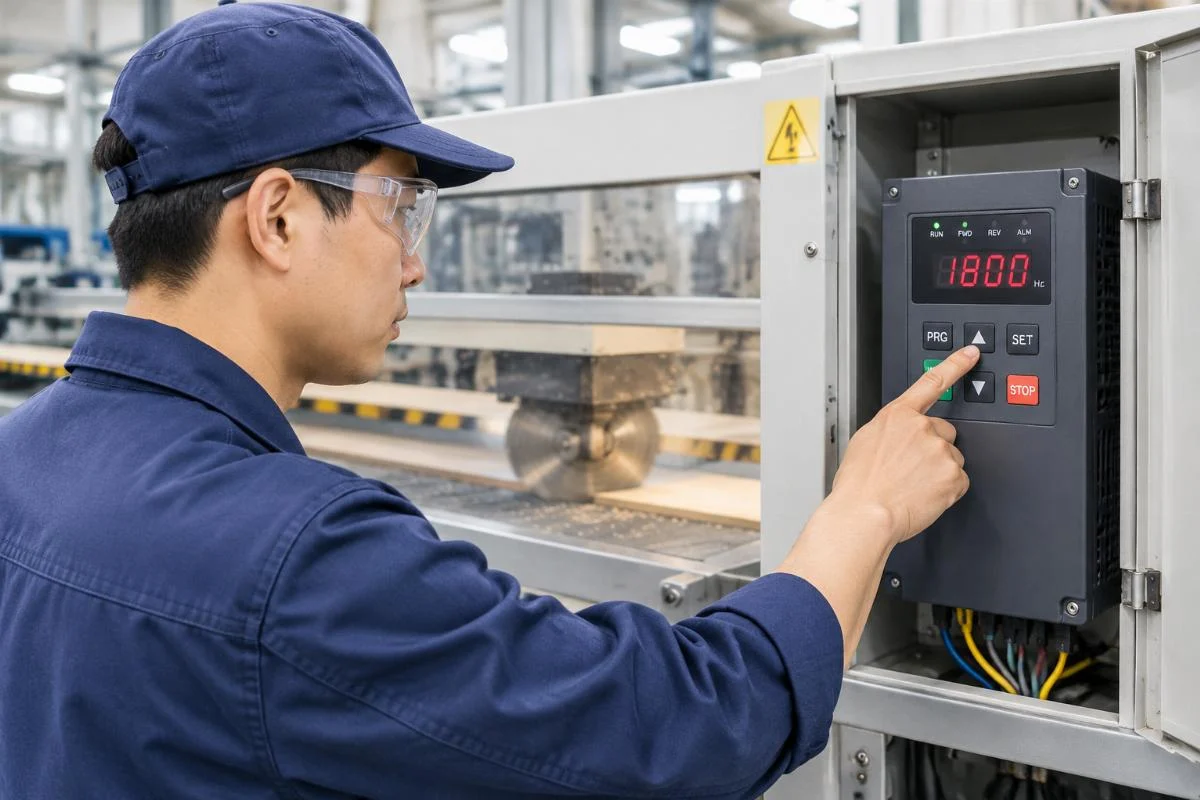
- Frequency Inverter Tuning: Use the variable frequency drive to make micro-adjustments to the cutter motor. Listen to the sound of the blade hitting the die face; a clean, rhythmic tapping indicates perfect synchronization, while a dull scraping means the blades are dragging.
- Yield Optimization: Continuously check the collection bins. If the fines bin is filling up too quickly, immediately reduce the cutter speed or slightly increase the extrusion feed rate to thicken the strands.
This is exactly the scenario I faced in Riyadh. The cutter was spinning far too fast for the viscosity of the local corn blend. By slowing down the cutter frequency and slightly adjusting the moisture, we transformed a floor covered in useless dust into a steady stream of perfect, uniform chips. This is why Meiteng’s turnkey line design and on-site operator training are so vital. Our engineers do not just hand you a manual; we stand on your factory floor, fine-tuning these exact cutter and dryer settings to match your local raw materials, guaranteeing a highly profitable yield from day one.
How to Calibrate the Drying System for Optimal Crispness?
Gradual moisture reduction prevents internal cracking and ensures the final product achieves the perfect snap.
The extruder only shapes the product; the dryer defines its shelf life and texture. The pellets exiting the cutter contain a high moisture level and must be dried down to a safe threshold for packaging and frying or baking later. The biggest mistake is blasting the dryer with maximum heat to save time.
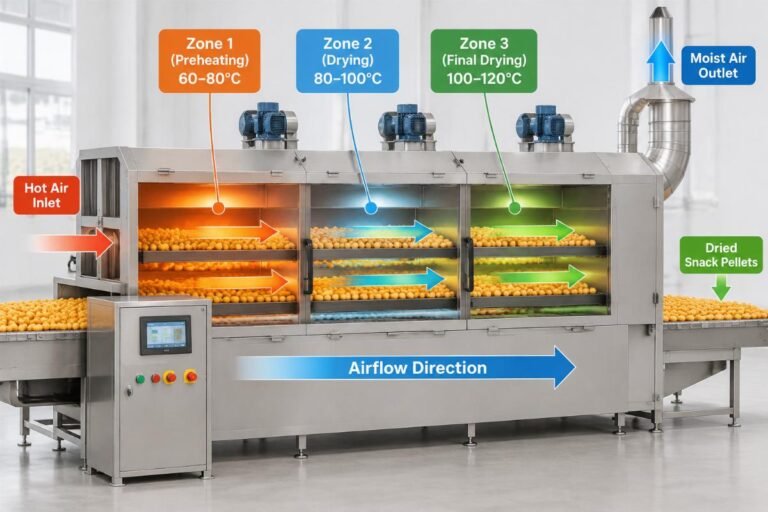
- Multi-Stage Drying: The drying process must be gradual. The initial stage should use moderate heat to allow surface moisture to evaporate without sealing the outer crust. If the surface dries too fast, it becomes impermeable, trapping steam inside. When the internal pressure eventually exceeds the crust strength, the pellet cracks or explodes.
- Airflow and Temperature Matching: The dryer temperature must be matched to the pellet thickness. Thicker pellets require lower temperatures and longer residence times. Ensure the internal airflow is evenly distributed across all conveyor belts to prevent localized over-drying.
- Final Moisture Verification: Do not rely solely on the dryer’s digital display. Use a calibrated moisture analyzer to test samples from different sections of the drying belt. The goal is a uniform moisture drop across the entire batch, ensuring every single chip has the exact same crispness.
A client in North Africa once complained that their chips were bitter and hard. The factory parameters were set for a dry climate, but they were operating during the rainy season. The ambient humidity was so high that the dryer could not pull the moisture out fast enough, leading to prolonged drying times and a stale taste. We had to completely recalibrate the exhaust fans and adjust the temperature zones to compensate for the local weather. Factory parameters are just a starting point; the local ambient humidity always dictates the final dryer settings.

Conclusion
Mastering a pellet chips line commissioning requires abandoning the illusion of perfect factory parameters and embracing the reality of local variables. By meticulously controlling raw material moisture, synchronizing cutter speed to eliminate fines, and calibrating the dryer for gradual moisture reduction, you transform a chaotic first run into a highly profitable, consistent production line. True expertise lies not in the machine’s manual, but in the ability to read the material and adapt to the environment.
Equipment Mentioned in This Article
 3D papad machine
Fully Automatic 3D Snack Pellets Extruder Making Machine for Chips
Chips 3D Snack Pellet Extruder Line for 2D/3D Shapes — co-rotating twin-screw extrusion processes potato and cassava starches into papad,… View Machine Details frying chips machine
Industrial Deep Fryer Machine Manufacturer Banana Potato Chips French Fries
Industrial Deep Fryer Machine for banana and potato chips features automatic basket lifting and oil filtration. The electric heating system… View Machine Details frying chips machine
100-2000L Tank Deep Fryer Commercial Chips Frying Machine
100-2000L Tank Deep Fryer for Snack Pellets and Chips — handles continuous deep frying and de-oiling for potato, cassava, and… View Machine Details frying chips machine
Electric Batch Frying Machine for French Fries Fast Food Chicken Wing
Industrial Batch Fryer for Fried Snacks and French Fries — features electric or gas heating with automatic basket lifting for… View Machine DetailsRelated Applications

Engineering Perspective
An In-House R&D Team Behind Every Line
Jinan MT Machinery develops its process technology in-house. The team concentrates on the four areas that decide pellet shape, expansion and line stability.
- Expansion technology
- Twin-screw extrusion
- Die design
- PLC/MCC automation
Related Articles
 Nov 17, 2026 · Installation & Maintenance
Fix Snack Pellet Cracking in Drying: Twin-Screw Extruder Manufacturer
Snack pellets cracking during drying is rarely an extrusion fault but a thermal bottleneck caused by rapid surface moisture evaporation. Implementing a multi-zone gradual… Read This Article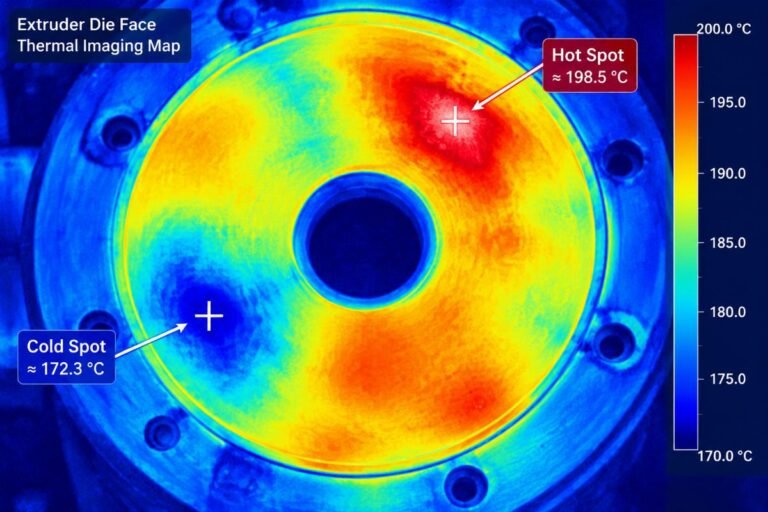 Nov 17, 2026 · Installation & Maintenance
Fried Pellet Chips Extruder Manufacturer: Fix Uneven Expansion
Troubleshooting uneven expansion fried pellet chips requires addressing mechanical installation deviations and thermal inconsistencies instead of adjusting recipes. Verify die temperature sensor alignment, inspect… Read This Article Nov 17, 2026 · Installation & Maintenance
Snack Pellet Dryer Maintenance: Belts, Fans & Heating Elements Manufacturer
Effective snack pellet dryer maintenance prevents hidden moisture pockets and localized scorching by addressing belt tension, fan airflow, and heating element decay. Master precise… Read This ArticleFree Process Check
Send Your Recipe for a Process Check
Jinan MT Machinery engineers review your recipe and return a free process plan within 24 hours. Tell us the product, output, raw material, local voltage and heat source.
Send Your Recipe on WhatsApp